Many social media sites provide the option to add a cover image to your profile page. Since these tend to be larger than the profile image (especially on LinkedIn), this is potentially a great place to show off your new headshot. The hitch is cover images are quite wide, so if you upload a regular headshot photo it will be cropped and look very strange. There is a way to do it, though, you just need to expand the background of the headshot and that is going to require using a tool like Photoshop.

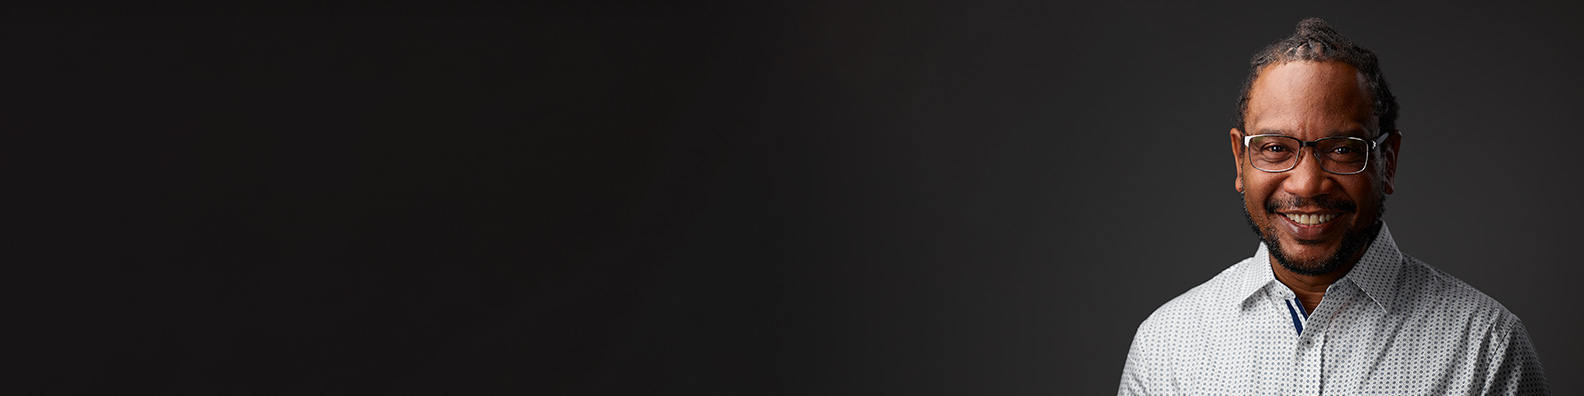
First, you need to choose the right image to start with. I recommend one that has some space above your head and both shoulders fully visible down to the bottom of the frame. You also want a more or less solid background (slight texture or gradient should be ok). For sites that place the profile image on top of the cover (LinkedIn and Twitter), then it’s a good idea to pick contrasting images, such a profile image with a white background and a cover with gray.
An environmental shot with a detailed background is probably not a good choice for this procedure because it won’t be easy to expand and still look natural. If you do want an environmental image as a cover (which would be especially good for Youtube channel cover), then the best option is to create the image with that in mind in the first place. However, this post is about creating a cover with a clean background , so for now l’m assuming you’re using a headshot with a relatively plain background.
White Background
If your headshot has a pure white background, then this is the easy one. Create a new image of the appropriate size with a white background, and place the photo. There some website specific factors to consider when placing the photo that I’ll cover below, but typically I place the image just to the right of center. That’s it for the white background.
Expanding a Background
If your headshot has a solid background color (such as the gray above), then chances are Photoshop’s
Once Photoshop is done, examine the new parts of the image for any artifacts created during the expansion. The clone stamp or healing brush can usually fix those, or you might also find that doing a large expansion in 2 or 3 steps yields a better result than one big step.
The next step is to do a crop to a specific size for each site. Enter the pixel dimensions into the width and height of the crop tool, and adjust the crop frame as needed. Once I export a jpg for a site, I undo the crop to go back to the big version and resize the cover for the next site.
The LinkedIn cover image is 1584×396. Make sure to avoid far bottom left where the profile image is placed. Also, since the profile is on top of the cover, choose a profile image with a different background to provide contrast.

The cover image 1500×500 and Twitter also places the profile image on top of the cover. Twitter also hides approx 50px of the top and bottom, so make sure you’ve got plenty of space above your headshot, and it would be good to have this headshot cropped a bit lower than normal so you don’t lose your neck in the bottom 50px.

Facebook is a bit more complicated and displaces the same cover image in different sizes depending on the platform. On desk top, the image is shown cropped to 820×312, and on mobile it is show as 640×360. So you need leave about 100px on the each side and 20px top and bottom.
Export to JPEG
Finally, crop to the specific sizes needed and export each version as a JPG converted to sRGB want an embedded color profile. To keep them small, I exported at 80% and used JPEGmini to squeeze a few more KB out. All of these samples are well under 100KB.
Of course the last step is to go to each site, and upload the images.